Print a Map
|
Use the Print tool to make the current map extent into a PDF. By navigating to the location, making map layers visible or invisible, and drawing on the map, you can create a custom map. In the Print tool dialogue window you can customize settings and advanced settings for the features on the map layout, such as title bars, legend, scale bar, north arrow, and more. Click here for more information on how to use the Print Tool. |
|
Printing:
- Open the Printing Tool by clicking on the printer icon in the top right hand corner of the Web Map display window.
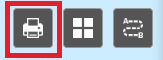
Figure.1
- Customize ‘General’ settings – on the dropdown window, you change the Map Title, Layout and Format of the map. (Figure.2)
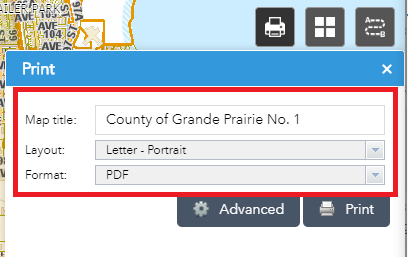
Figure.2
- Print the map - Generate a map by clicking on the ‘Print’ button. (Figure.4) This usually takes a few seconds to create a map.
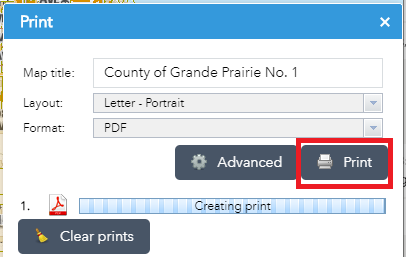
Figure.3
- View the map Pdf Document - click on the map. (Figure.5) The map will open in a new browser tab as a PDF document, if another format has not been specified. Print the pdf from the browser or save the pdf to your desktop.

Figure.4 - Clear Prints - Click on the ‘Clear Prints’ button to clear all the generated map files.
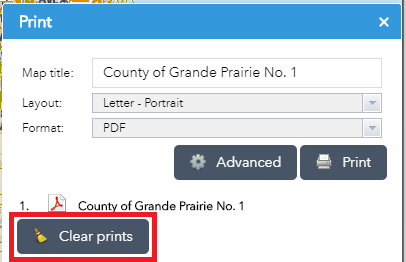
Figure.6
Created with the Personal Edition of HelpNDoc: Make Help Documentation a Breeze with a Help Authoring Tool