How do I Create Template for Mail Merge (Assessment)?
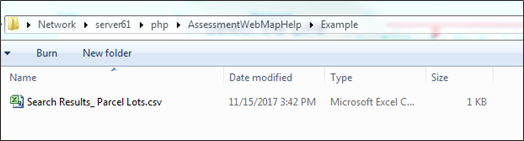
1. Locate the CSV file generated from the mail merge in your directory:
2. Open the file and go to ‘Save As’, then save in the file format ‘.xls’

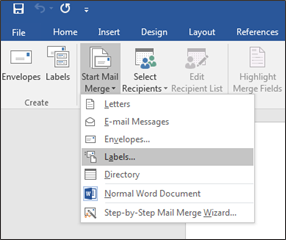
3. Open Word. Click on the ‘Mailings’ tab and select the ‘Start Mail Merge’ icon.

4. Your selection for the drop down menu of ‘Start Mail Merge’ depends on the document you are creating. In this example we will select ‘Labels’
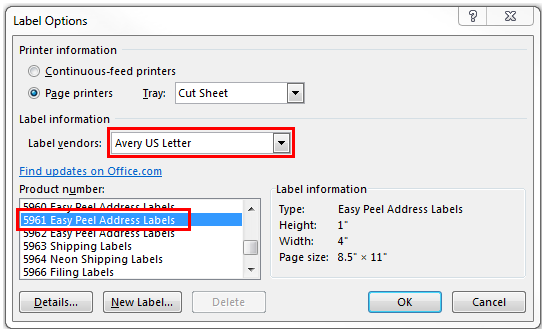
5. Specify the following settings in the dialogue window which pops up. Then click ‘Okay’.
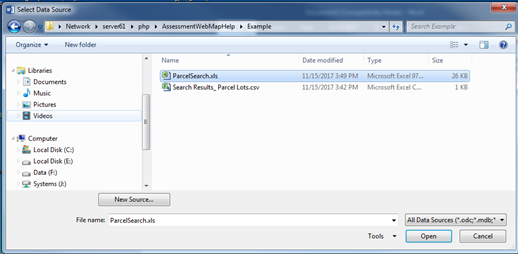
6. Click on the ‘Select Recipients’ icon and select ‘Use Existing List…’ from the drop down menu.
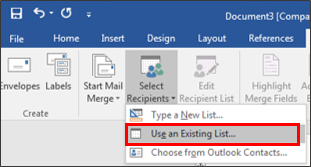
7. Navigate to the excel file which you saved in step 1.
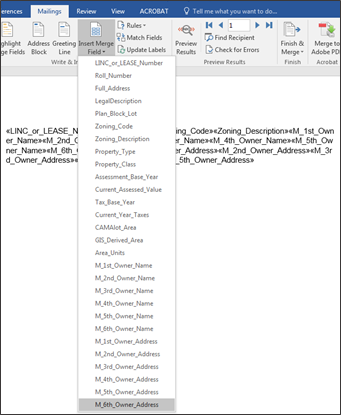
8. Click on the ‘Insert Merge Field’ icon and select the fields from the drop down menu in order to insert them into your template. Make sure you insert all owner and address fields (1-6). This is because if the field is blank then the field is ignored, however if there is a value in the field you want to include that value in your labels.
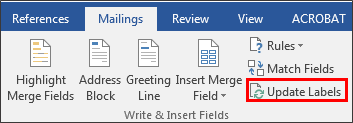
9. Click the ‘Update Labels’ icon.
10. View the results by clicking the ‘Preview Results’ button.

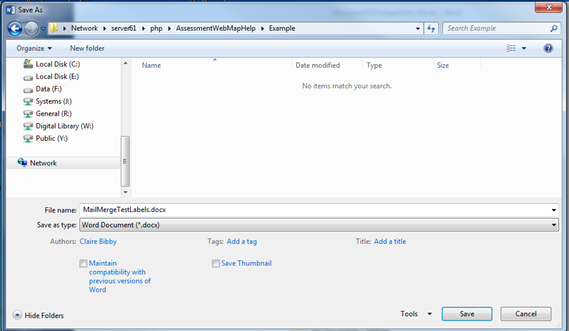
11. Save the document.
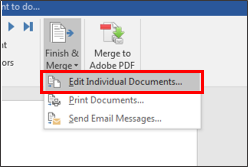
12. Click the ‘Finish & Merge’ icon and select ‘Edit Individual Documents…’ from the drop down menu. Edit individual documents. All in mail merge tab
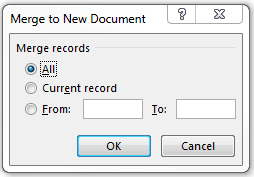
13. Specify the settings in the ‘Merge to New Document’ window that pops up.
Created with the Personal Edition of HelpNDoc: Generate EPub eBooks with ease